Now that we understand the importance of GPU computing let’s see how to activate it in Google Colab.
Step 1: Open Google Colab
First, you need to open Google Colab by going to https://colab.research.google.com/ and sign in with your Google account.
Step 2: Create a New Notebook
Once you are signed in, click on the “New Notebook” button to create a new notebook.
Step 3: Select GPU as the Hardware Accelerator
Next, select Runtime from the top menu and then click on Change runtime type.
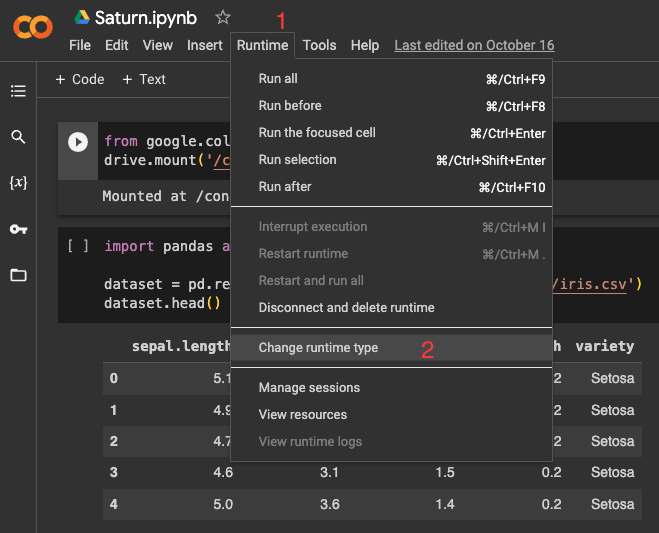
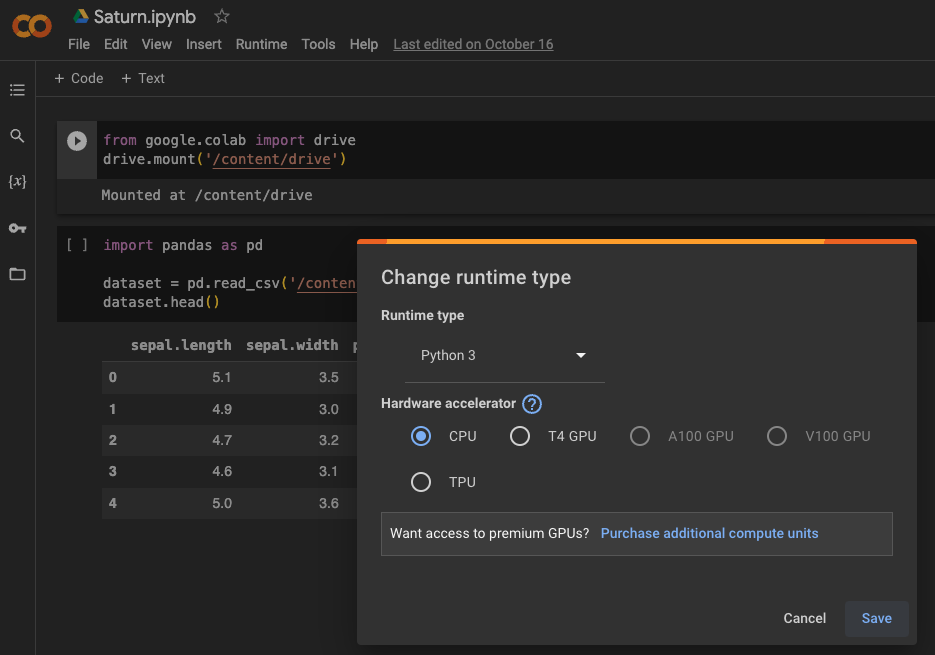
In the Hardware accelerator list, select which accelerator you want and then click Save
Step 4: Verify GPU Availability
After you have selected GPU as the hardware accelerator, you can verify that the GPU is available by running the following code in a code cell:
!nvidia-smi
This code will display information about the GPU, including its name, memory usage, and current processes running on it.
